
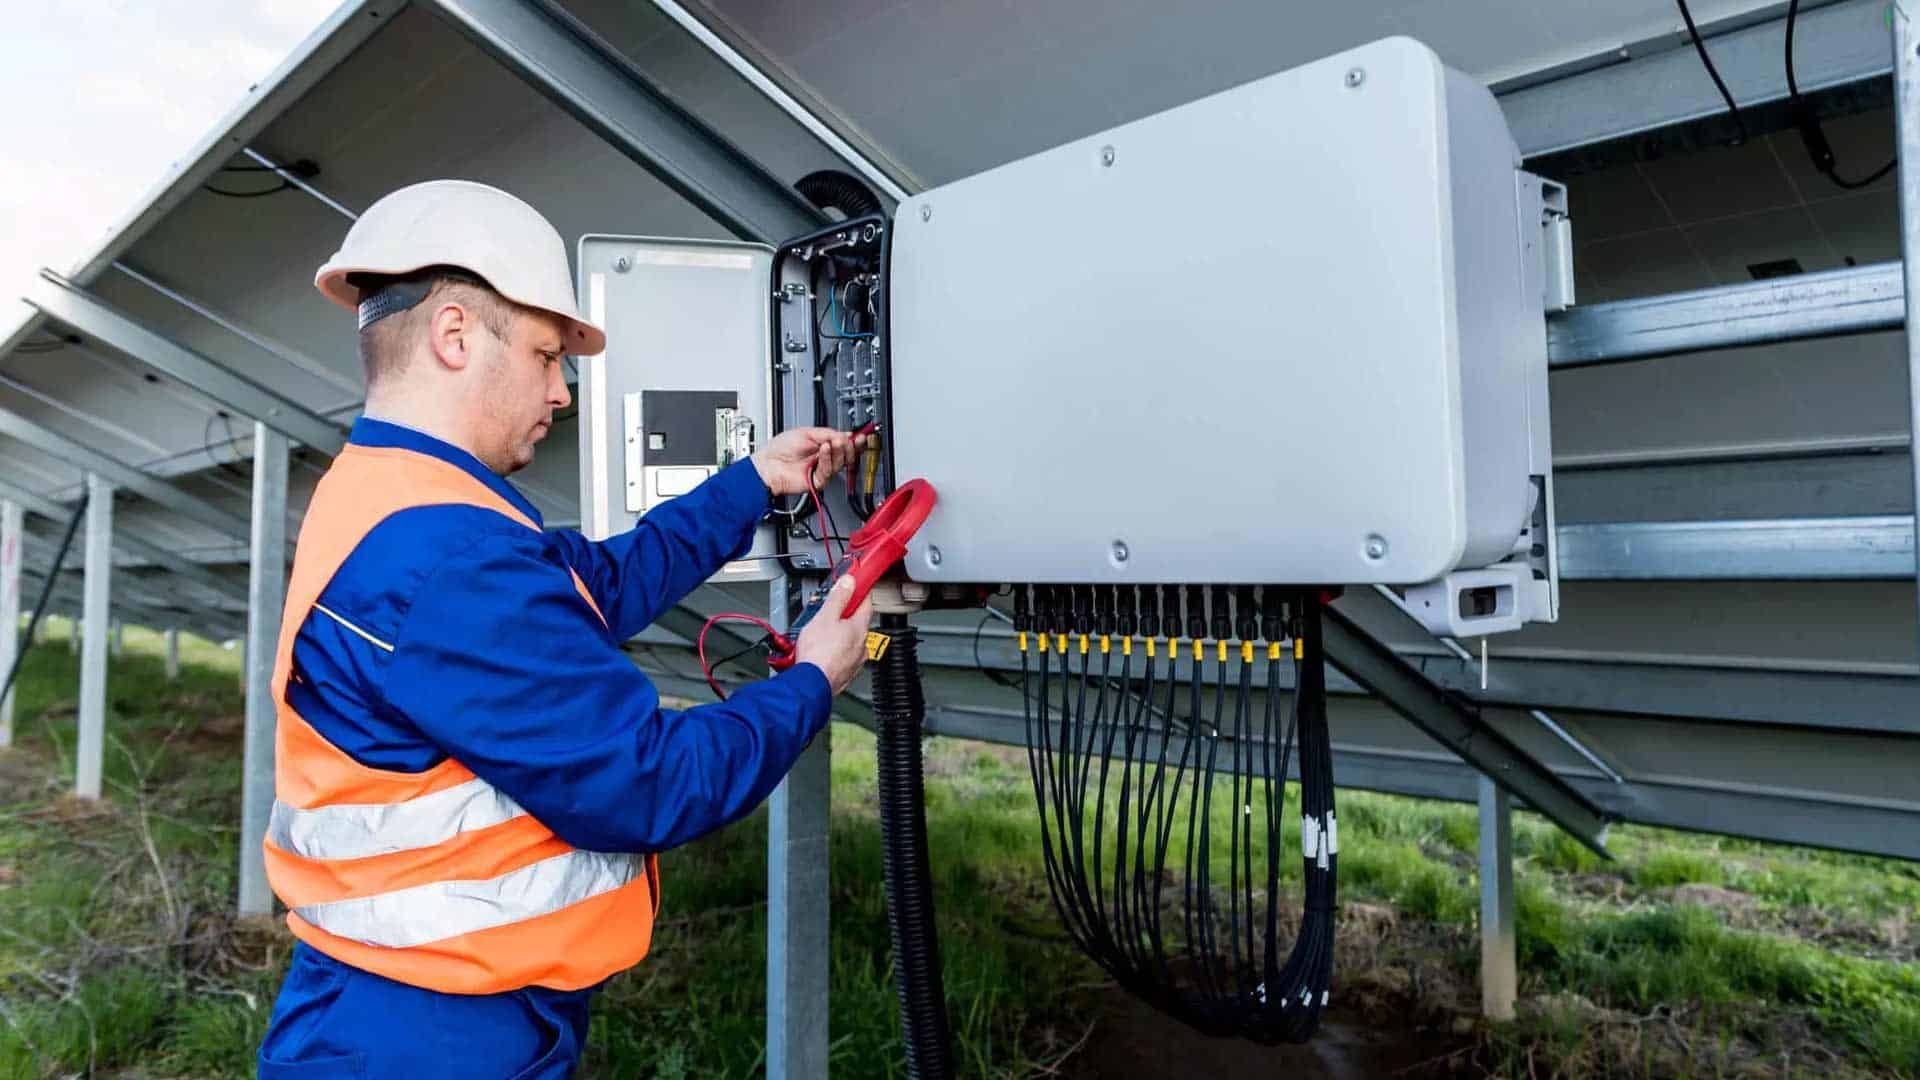
Turn on the DC isolator first, then the AC isolator, then check the inverter display.
Knowing how to turn on a solar inverter is something every solar owner should understand. Whether your system was just installed, you had maintenance done, or the power went out during a storm, the startup sequence matters. Get it wrong and you could trip a safety switch or damage your inverter.
This guide walks you through the correct steps for powering on your inverter safely. We cover the standard process that applies to most brands, common reasons your inverter might not start, and when it makes sense to call a qualified solar installer instead of troubleshooting yourself.
Why Your Solar Inverter Might Be Off
Before you go flicking switches, it helps to understand why the inverter is off in the first place. The reason affects what you need to check before powering back on.
- New installation – Your installer will normally commission the system, but you should know the startup process anyway.
- Maintenance or repairs – Electricians turn off isolators before working on the system. They should turn everything back on, but sometimes they forget.
- Power outage or blackout – Grid-tied inverters shut down when the grid goes down. They should restart automatically, but not always.
- Safety switch tripped – A fault somewhere in the system can trip the AC breaker in your switchboard.
- Manual shutdown – Someone turned it off deliberately, maybe for roof work or painting.
Safety first: If your inverter was turned off because of a fault, burning smell, or visible damage, do not attempt to restart it yourself. Call a licensed electrician or your solar installer immediately.
How to Turn on a Solar Inverter: Step-by-Step
The startup sequence is the same for most residential inverters. You are essentially reconnecting the DC power from the panels, then the AC connection to the grid, then letting the inverter boot up.
- Locate your DC isolator – This is usually a red or grey rotary switch mounted on the wall near the inverter, or sometimes on the roof near the panels. Turn it to the ON position.
- Turn on the AC isolator – This switch is typically right next to the inverter or on the wall below it. Flip it to ON.
- Check your switchboard – Make sure the solar supply breaker in your main switchboard is in the ON position. It is usually labelled “Solar” or “Inverter”.
- Wait for the inverter to boot – Most inverters take 30 seconds to 2 minutes to start up. You will see lights come on and the display will show status information.
- Verify the display – Look for a solid green light or a screen showing power generation (watts or kilowatts). If it is daytime and sunny, you should see power being produced within a few minutes.
That is the full process. DC first, then AC, then wait. The order matters because you want DC voltage present before the inverter tries to sync with the grid.
What to Check After Turning on Your Solar Inverter
Flicking the switches is the easy part. Confirming everything is working properly takes another minute or two.
- Green light or normal display – A solid green light (or blue on some brands) means the inverter is generating power. Flashing usually means it is still connecting.
- Power output reading – On a sunny day, your inverter should show power output in watts. Even on overcast days, you should see some generation.
- No error codes – If the display shows an error code or a red/orange light, write down the code and check your inverter manual.
- Monitoring app – If you have a monitoring app (most modern systems do), check that data is coming through. It can take 10-15 minutes for the app to update.
Tip: Take a photo of your inverter display when it is running normally. If something goes wrong later, you will have a reference point to compare against.
How to Turn on a Solar Inverter by Brand
The basic process (DC isolator, AC isolator, wait) is universal. But some brands have slight differences worth knowing about.
| Brand | Startup Notes | Boot Time |
|---|---|---|
| Fronius | Starts automatically once DC and AC are connected. No power button. | 60-90 seconds |
| SMA | Some models have a toggle switch on the bottom of the unit. Check it is set to ON. | 30-60 seconds |
| Sungrow | Auto-starts. LCD screen shows a boot sequence before displaying generation data. | 60-120 seconds |
| Enphase (micro) | No central inverter. Each microinverter starts individually once AC breaker is on. | 3-5 minutes |
| Huawei | Auto-starts with DC voltage. Green LED means normal operation. | 60-90 seconds |
| GoodWe | Some models have a physical power button on the side. Hold for 2 seconds if needed. | 30-60 seconds |
If your brand is not listed here, the generic DC-then-AC sequence still applies. Check your inverter manual for model-specific instructions, or contact your installer.
How to Turn on a Solar Inverter After a Blackout
Grid-tied solar inverters are designed to shut down during a blackout. This is a safety requirement called anti-islanding protection, and it stops your panels from feeding electricity into power lines while linesmen are working on them.
Once the grid comes back, most inverters will restart on their own within 1 to 5 minutes. You should not need to do anything.
- Wait at least 5 minutes after grid power returns before checking your inverter.
- If the inverter has not restarted, try switching the AC isolator off and back on.
- If it still will not start, check the solar breaker in your switchboard.
- A solar battery system with backup capability can keep your home running during outages, so this becomes less of an issue.
Repeated blackouts can sometimes cause inverters to enter a lockout mode. If your inverter shows an error after a blackout, a full restart (DC off, AC off, wait 30 seconds, DC on, AC on) usually clears it.
Solar Inverter Won’t Turn On? Common Causes
You have followed the steps and nothing is happening. Here are the most common reasons an inverter refuses to start, and what you can do about each one.
- DC isolator still off – Check the isolator near the inverter AND the one on the roof (if your system has two). Both need to be on.
- AC breaker tripped – Open your switchboard and look for the solar breaker. If it has tripped, reset it. If it trips again immediately, call an electrician.
- No sunlight – Inverters need a minimum DC voltage to start. At night or in very heavy cloud, they will not power on. This is normal.
- Inverter fault – Error codes on the display usually point to a specific issue. Check your manual or search the error code online.
- Blown fuse – Some inverters have internal DC fuses that can blow during a surge. This requires a technician to replace.
- Communication error – The inverter may be on but not sending data to your monitoring app. This does not mean it has stopped generating.
If none of these explanations fit, or if the inverter keeps shutting down after you restart it, it is time to get a professional involved. Repeated faults can indicate a wiring issue, a failing inverter, or a problem with your panels.
When to Call a Professional Instead
Turning on an inverter is straightforward. Diagnosing why it will not stay on is not. Here is a simple rule: if the standard startup sequence does not work after two attempts, stop and call someone.
- You smell burning or see scorch marks near the inverter or switchboard.
- The inverter displays a fault code you cannot resolve by restarting.
- Your AC breaker trips repeatedly when you turn the solar supply on.
- The inverter turns on but shows zero generation during peak sun hours.
- You are not comfortable working near electrical equipment.
Solar systems involve high-voltage DC electricity, which can be dangerous. Under Australian law, only a licensed electrician or CEC accredited installer should perform repairs or modifications to a solar system. The federal rebate scheme also requires CEC accredited installers for warranty compliance.
At SolaXs, we have been installing and servicing solar systems across the Mid North Coast and Port Macquarie region for over 25 years. Our team is fully CEC accredited, and we have seen every inverter issue there is. If your system is playing up, we can diagnose the problem quickly.
Tips to Keep Your Inverter Running Smoothly
Prevention beats troubleshooting every time. A few simple habits will reduce the chance of unexpected shutdowns.
- Check the display monthly – Spend 30 seconds looking at your inverter once a month. If it is generating power and showing no errors, you are good.
- Keep the area clear – Inverters need airflow to stay cool. Do not stack boxes, tools, or garden equipment against them.
- Watch your monitoring app – Set up alerts if your app supports them. A sudden drop in generation often signals a problem before the inverter faults out.
- Schedule a professional inspection every 2-3 years – A qualified solar technician can spot worn connections, degraded wiring, and other issues before they cause failures.
Modern inverters last 10 to 15 years. With basic attention, most run trouble-free for their full lifespan.
Wrapping Up
Knowing how to turn on a solar inverter comes down to three switches in the right order: DC isolator, AC isolator, then wait for the display. Most of the time, that is all there is to it.
If your inverter will not cooperate after a restart, do not force the issue. Write down any error codes, take a photo, and get a local professional to take a look. Solar is safe when handled properly, but DC electricity does not forgive mistakes.
Need help with a solar inverter that will not turn on? The SolaXs team services the entire Mid North Coast from our Port Macquarie base. Get in touch and we will sort it out.